Our Guide to Fitting Mock Tudor Planks
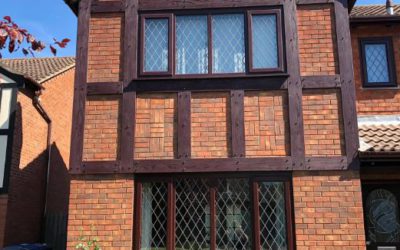
During lockdown, many homeowners have invested their new free time into DIY home improvements. As well as elevating the appearance of your property, home improvements can help to make a space feel more comfortable and homely. Fitting mock Tudor planks can help you achieve this, by making your house feel like a home as soon as you pull up on your drive.
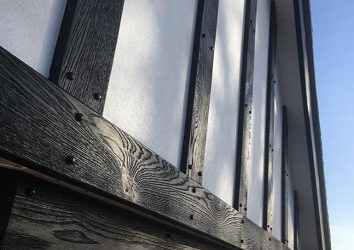
At Tudor Boards Ltd we manufacture polyurethane mock Tudor boards, from our base in Cannock, Staffordshire. All of our products are custom made, with a generous choice of RAL colours to choose from.
Once you have received your order from our team and are ready to install them, follow our step-by-step guide to fitting mock Tudor planks below. We also have a video tutorial available.
Fitting Mock Tudor Planks
Step One – Cutting Your Planks
Find a secure surface to lean your mock Tudor planks on and then begin to cut to size using either your usual hand saw or a PVC saw.
Step Two – Measuring for Fixings
Once cut to size, mark the position of all the fixings/pegs required. Leave a minimum of 25mm in from the sides of the plank. For each plank, you will need to measure for a minimum of 8 fixings.
Step Three – Securing Your Fixings
Using the flat wood bit on your electric drill, carefully drill a shallow hole where you have marked for your fixings. Drilling 10-12mm deep is usually enough. Or for a clearer guide, stop drilling when you notice that the little hole in the wood bit is level with the top of your plank. Again, make sure you are working your plank against a stable surface for safety.
Because the polyurethane core is soft on mock Tudor boards, avoid pressing too hard, otherwise the sharp wood bit will drill all the way through your new plank. You only need a shallow hole for fixings.
Step Four – Fitting Mock Tudor Planks
Using the glue which we will supply with your polyurethane planks, apply in a zig-zag motion liberally along the back of the plank. Make sure you leave a 25mm gap from the sides of the plank.
Please do not use a silicone or solvent based grab adhesive.
Then, to glue your mock Tudor board to the wall, hold in place and use the provided masonry drill bit to drill a 6.5mm hole, approximately 80mm deep.
Next, using the provided frame fixings and frame fixing bit, drive the frame fixing straight into the hole. There will be no need for wall plugs here. Make sure that you do not drive the fixing through the back of the plank. As soon as you feel the plank pull into the wall, stop drilling.
Step Five – Cleaning Up
After drilling, clear the holes of dust so you can apply a spot of the provided crystal clear glue inside the hole. Then push the pegs into the holes.
Complete the above five steps to fit the rest of your mock Tudor planks and enjoy your new home transformation!
For more information on fitting mock Tudor planks, you can contact our team on 0121 296 8000 or email sales@tudorboard.com